The RV windshield is one of the most important aspects of your RV. It serves as a barrier against the elements, provides you with a clear view of the road ahead, and adds a layer of protection while you’re out on the open road. Unfortunately, RV windshields can become cracked or damaged over time due to wear and tear, and it’s important to replace them when necessary. Here are a few tips for replacing an RV windshield.
Choose the Right Replacement
The first step to replacing an RV windshield is to make sure you are choosing the right replacement. You’ll want to make sure the replacement is of the same size and shape as the original windshield. To find the best rv windshield replacement services in Glendale, you may visit http://lucidautoglassandrv.com/rv-windshield-replacement-glendale/.
Prepare the RV
Before you begin the replacement process, you’ll want to make sure the RV is properly prepared. This includes removing any objects or debris that may be blocking the area where the windshield will be installed. You should also make sure the area is clean and free of dirt and dust.
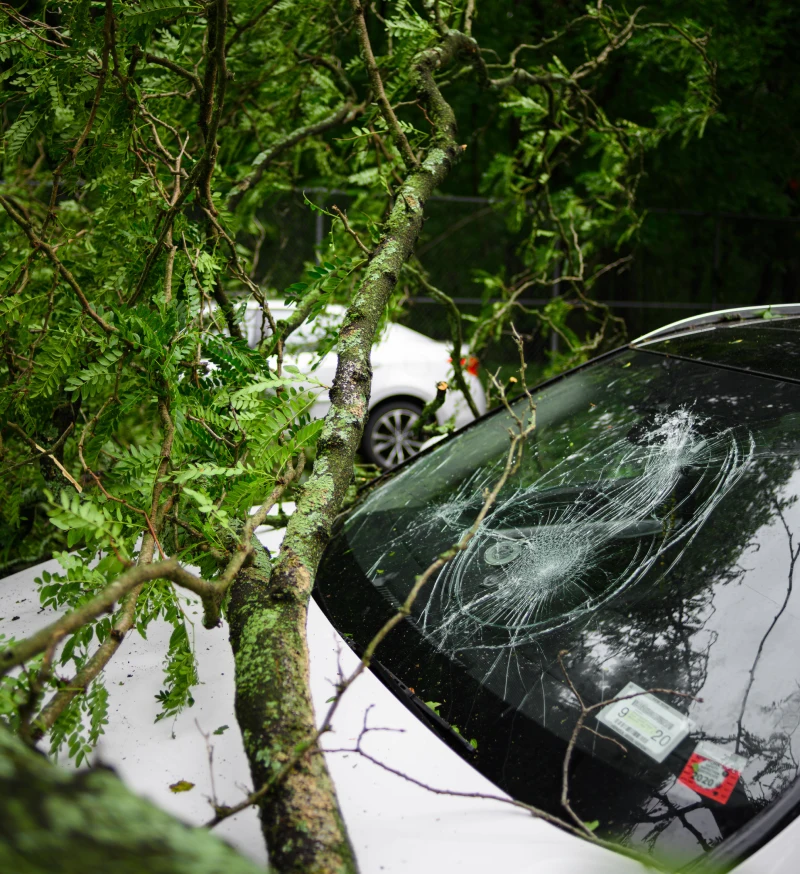
Remove the Old Windshield
Once the RV is prepared, you’ll need to remove the old windshield. This can be done by using a screwdriver to remove the screws that are holding the windshield in place. Once the screws are removed, you should be able to gently pull the windshield away from the RV.