Replacing an auto window can be a daunting task. Not only is it expensive, but it also requires you to have the right tools and knowledge to complete the job. To help you understand the process and prepare you for a successful auto window replacement, here is what you need to know.
Tools Needed
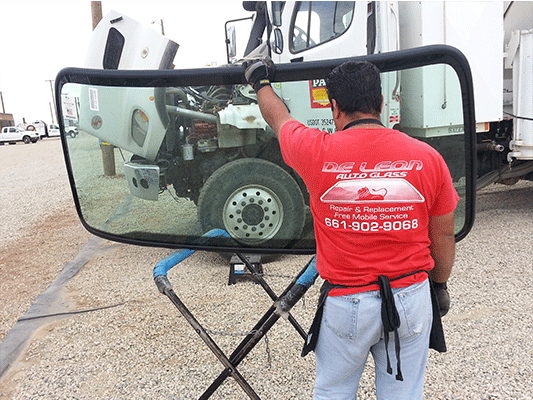
Replacing an auto window requires a few basic tools, such as a screwdriver, pliers, and a socket set. You may also need a wire brush or sandpaper to clean the area around the window frame. Additionally, you’ll need a sealant or adhesive to secure the new window in place. You can also click over https://deleonautoglass.com/ to get more information about auto window repair services in CA.
Removing the Old Window
The first step to replacing your auto window is to remove the old one. Start by unscrewing the window regulator and carefully detach the window from its frame. Remove any debris or broken glass pieces, and clean the area with a wire brush or sandpaper.
Installing the New Window
Once the old window is removed, you can install the new one. Fit the window into the frame and secure it in place with sealant or adhesive. Reattach the window regulator and secure it with the screws.
Conclusion
Replacing an auto window requires the right tools, knowledge, and patience. Be sure to take the time to do the job correctly, as a poorly installed window can be dangerous and lead to further damage. With the right preparation and tools, you can easily replace an auto window and ensure it is properly secured.