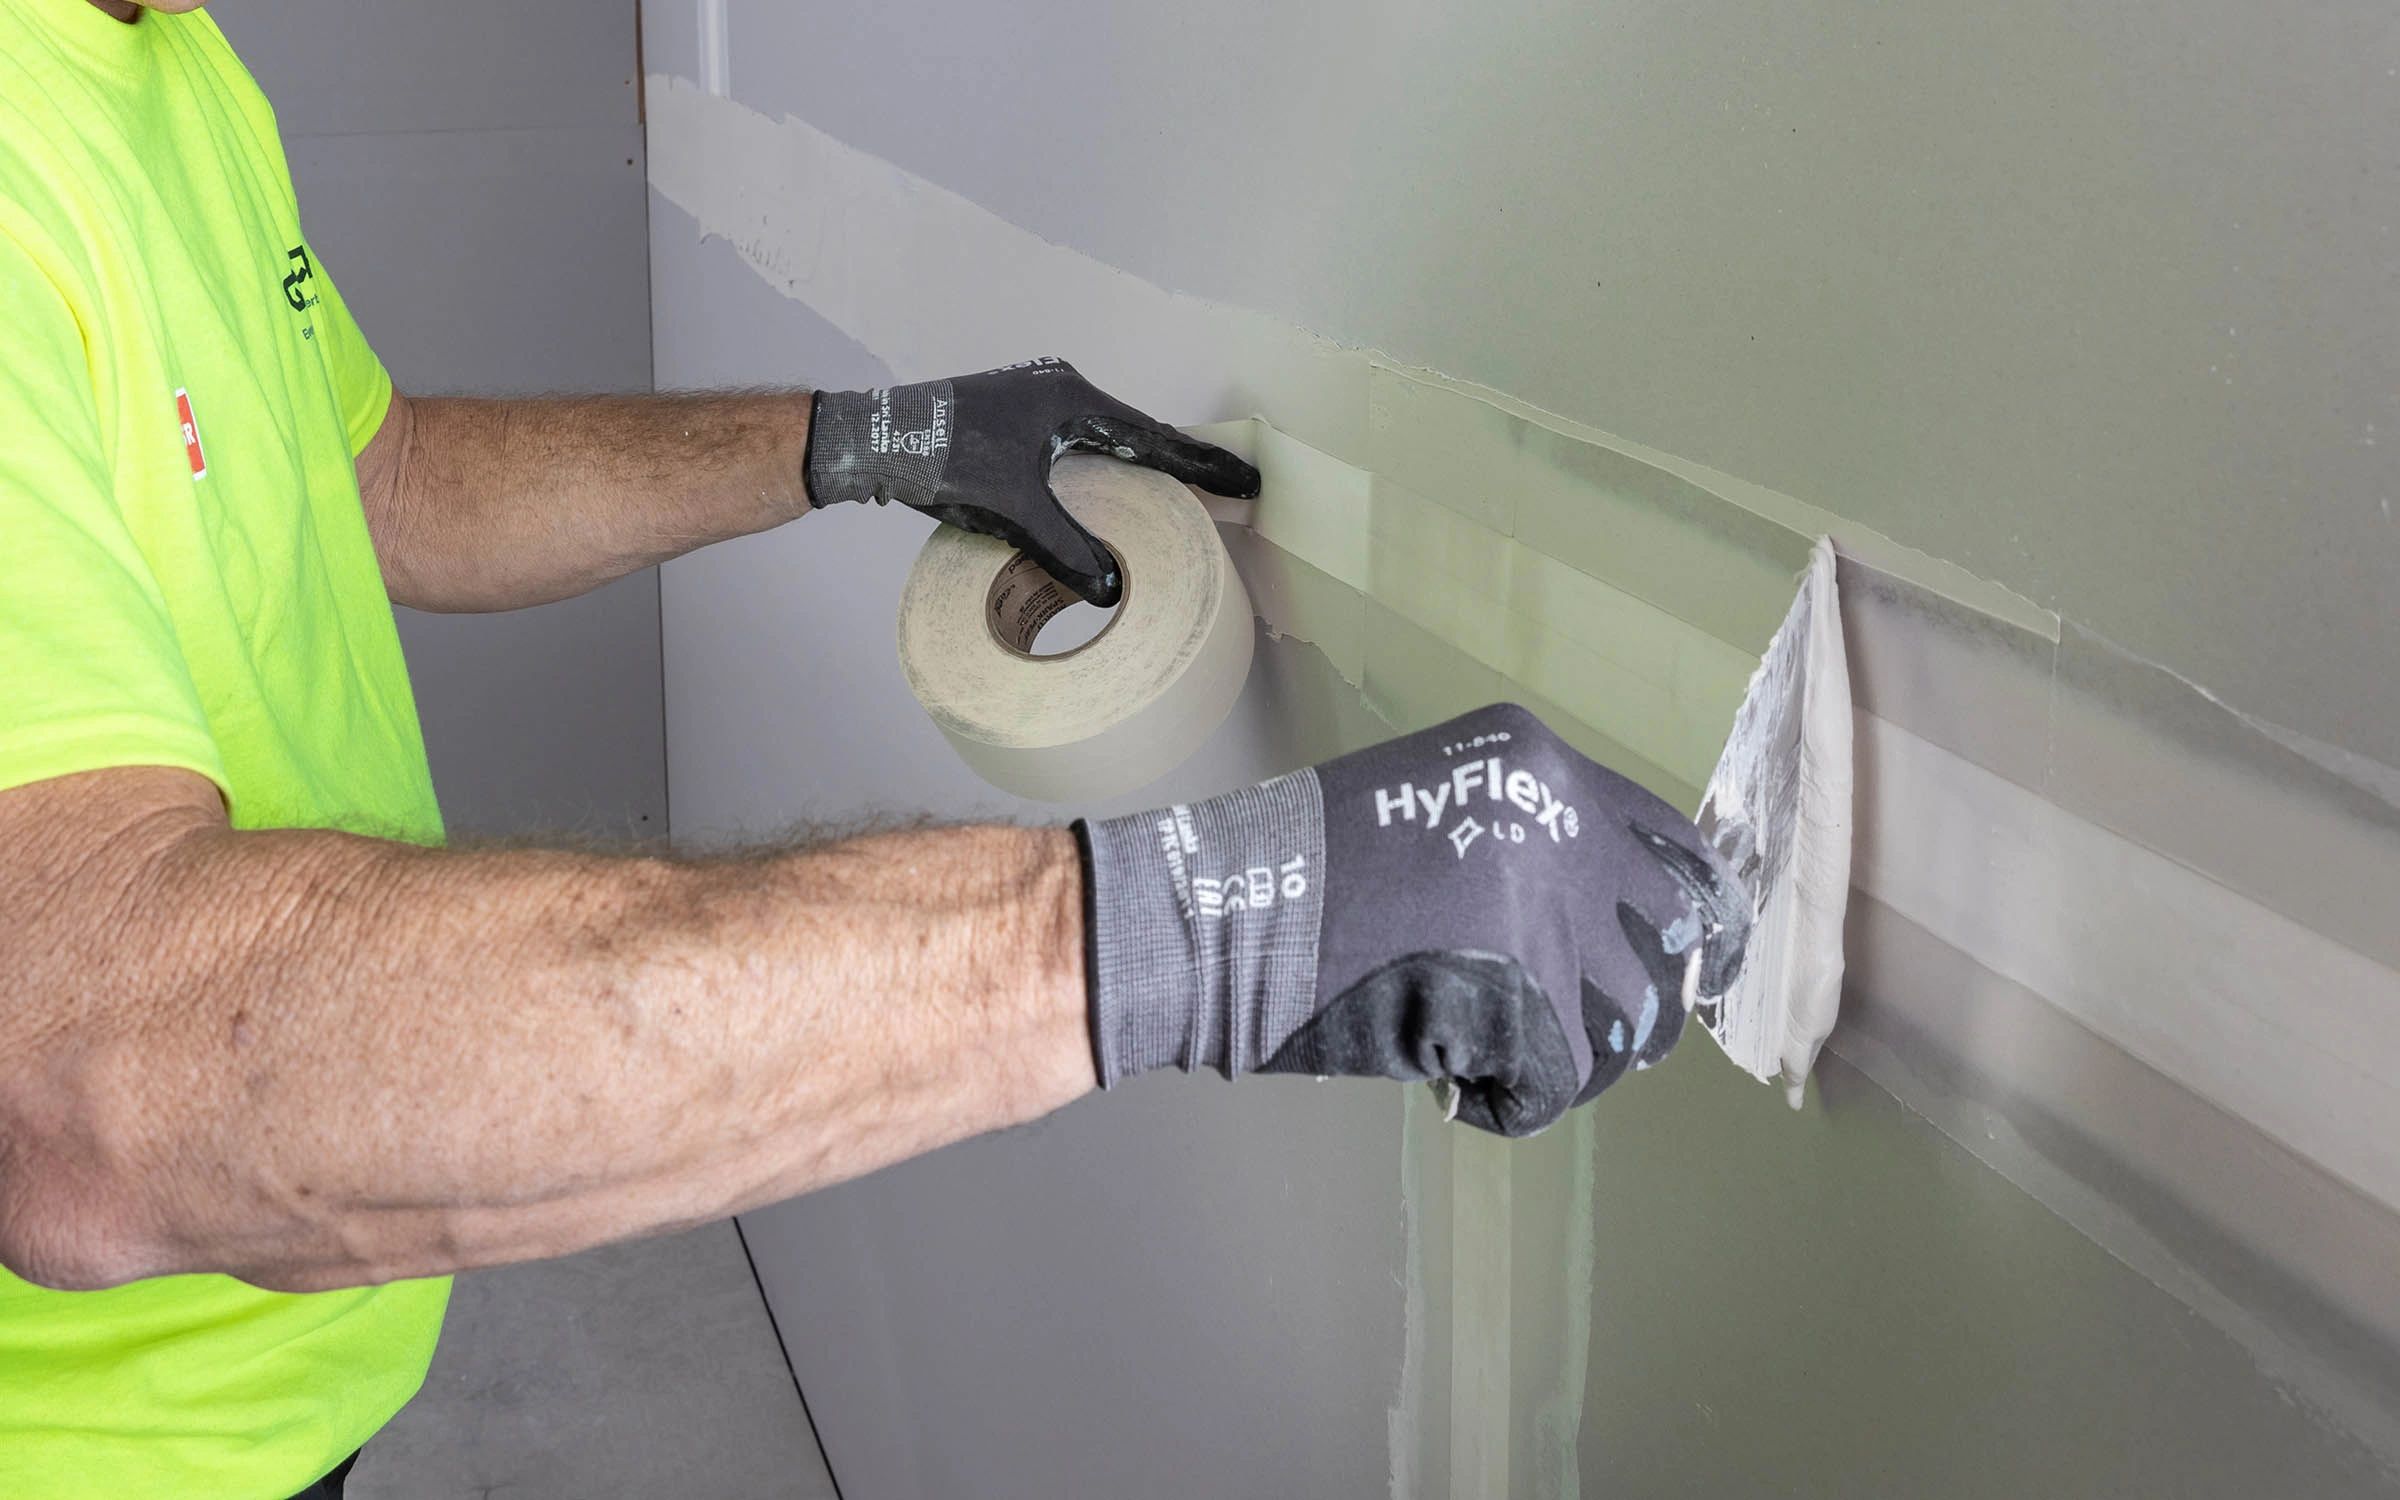
Repairing large plasterboard damage can be a daunting task, but having the right tools can make the process much simpler and more efficient. Understanding the essential tools required for large plasterboard repair patching not only saves time but also ensures a professional finish. This article will delve into the key tools necessary for effective plasterboard repair, offering insights into their usage and importance in achieving a seamless result.
Essential Tools for Plasterboard Repair
1. Plasterboard Joint Compound
A high-quality joint compound is crucial for filling in seams and cracks. It provides a smooth surface for painting once dried. Depending on the project, an all-purpose or a setting-type compound can be selected. The all-purpose compound is great for general repairs, while setting-type compounds are ideal for quicker jobs due to their fast-drying nature.
2. Taping Knife
The taping knife is indispensable for applying joint compound over the seams and ensuring a smooth finish. Available in various sizes, a 6-inch knife is commonly used for initial applications, while a 10 or 12-inch knife is optimal for feathering out the compound to blend seamlessly with the surrounding wall.
3. Plasterboard Tape
Using plasterboard tape is essential to reinforce the joint compound and prevent cracking. Two main types of tape are commonly used:
- Paper Tape: Known for its strength and non-elastic properties, making it ideal for strong seams.
- Fiberglass Mesh Tape: Easier to use and self-adhesive, perfect for beginners.
Discover expert strategies here to choose the right tape for your project.
4. Sanding Tools
Smoothing the surface after applying joint compound is crucial for a flawless finish. Different sanding tools can be used based on area size and preference:
- Sanding Sponge: Ideal for small areas and offers control over sanding pressure.
- Hand Sander with Sandpaper: Suitable for larger surfaces, providing even pressure and coverage.
- Power Sander: Best for extensive projects, ensuring efficient and uniform sanding but requires careful handling to avoid over-sanding.
Explore advanced guides and tips here for perfect sanding techniques.
5. Utility Knife
A sharp utility knife is vital for cutting plasterboard to size and trimming excess tape. It ensures precise cuts, which are essential for fitting repairs accurately and maintaining the integrity of the patch.
6. Plasterboard Saw
For larger repairs requiring new plasterboard sections, a plasterboard saw aids in cutting out damaged sections. It provides the precision needed for clean cuts, making it easier to fit replacement pieces seamlessly.
Additional Considerations
In addition to the core tools, certain accessories can enhance the repair process:
- Dust Mask and Goggles: Essential for safety, protecting from dust inhalation and eye irritation during sanding.
- Step Ladder: Provides safe access to high areas, ensuring stability during repairs.
- Drop Cloth: Protects floors and furniture from dust and debris during the repair process.
Find out more about this approach here for an efficient and clean repair environment.
Conclusion
Having the right tools is essential for successful plasterboard repair and patching. From joint compounds and taping knives to sanding tools and safety equipment, each tool plays a vital role in achieving a professional finish. For those seeking to refine their technique or embark on a repair project, understanding these tools and their uses is crucial. Learn about our tailored solutions here to ensure your repairs are executed with expertise and precision.
